How to Prepare for a Mehndi Appointment: A Practical Checklist
A calm mehndi session starts before the cone touches your skin. Use this practical checklist to plan clothing, skin prep, food, timing, references and aftercare.
A good mehndi appointment is less about doing something special and more about removing small problems before they happen. A phone that keeps ringing, sleeves that will not stay up, oily hands, no plan for dinner, or five completely different reference photos can make a relaxed session feel unnecessarily difficult.
Choose your references before the appointment
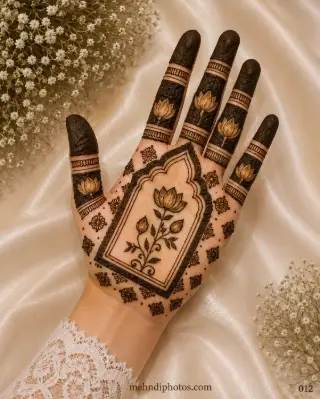
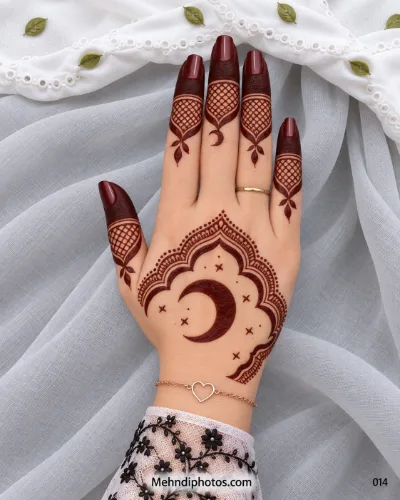
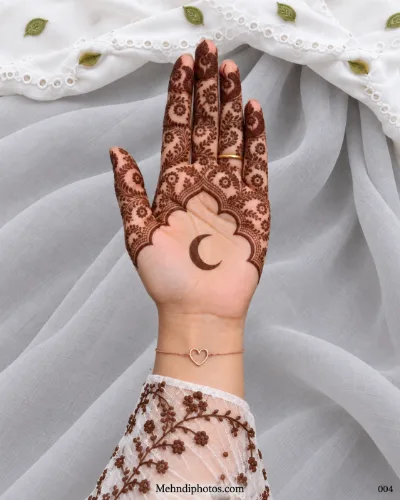
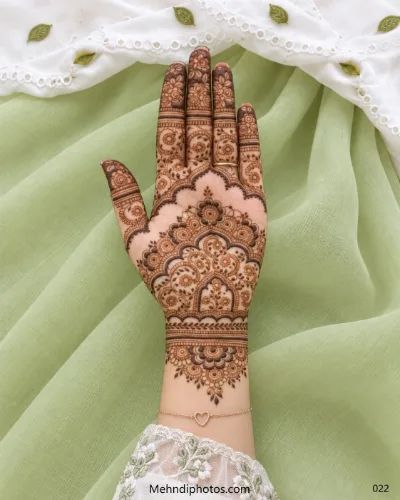
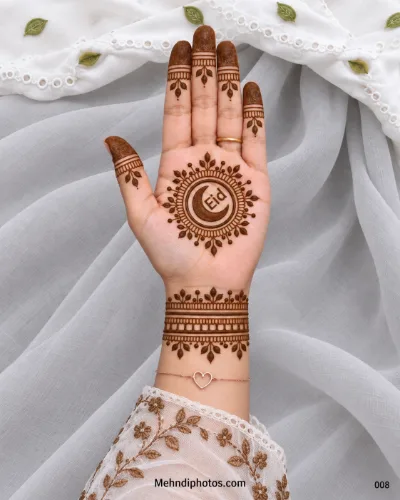
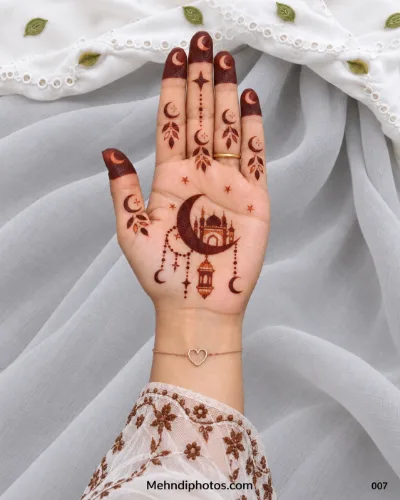
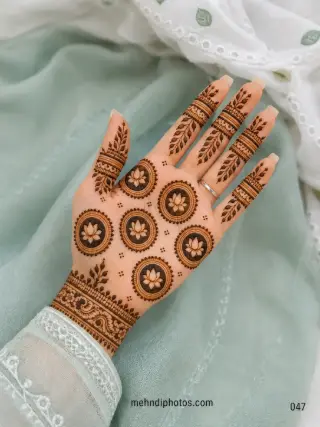
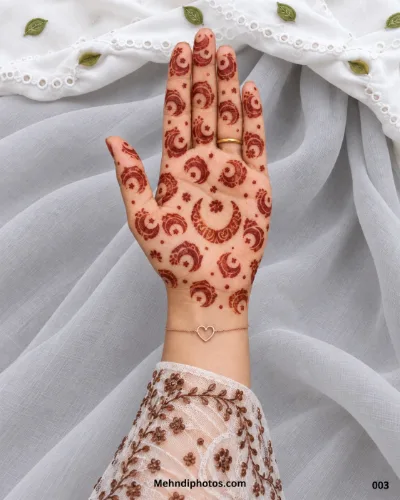
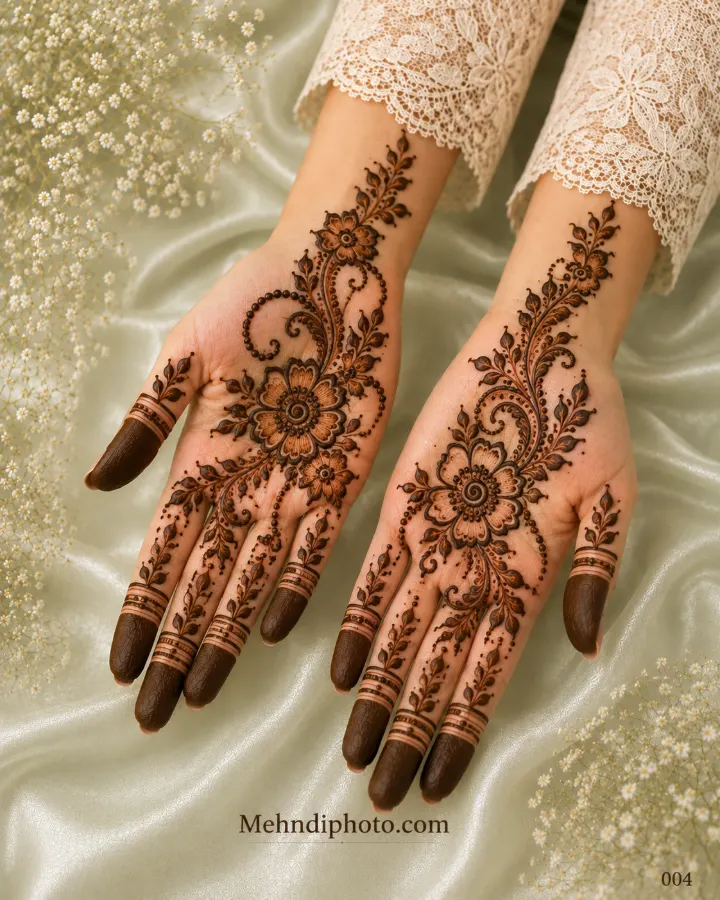
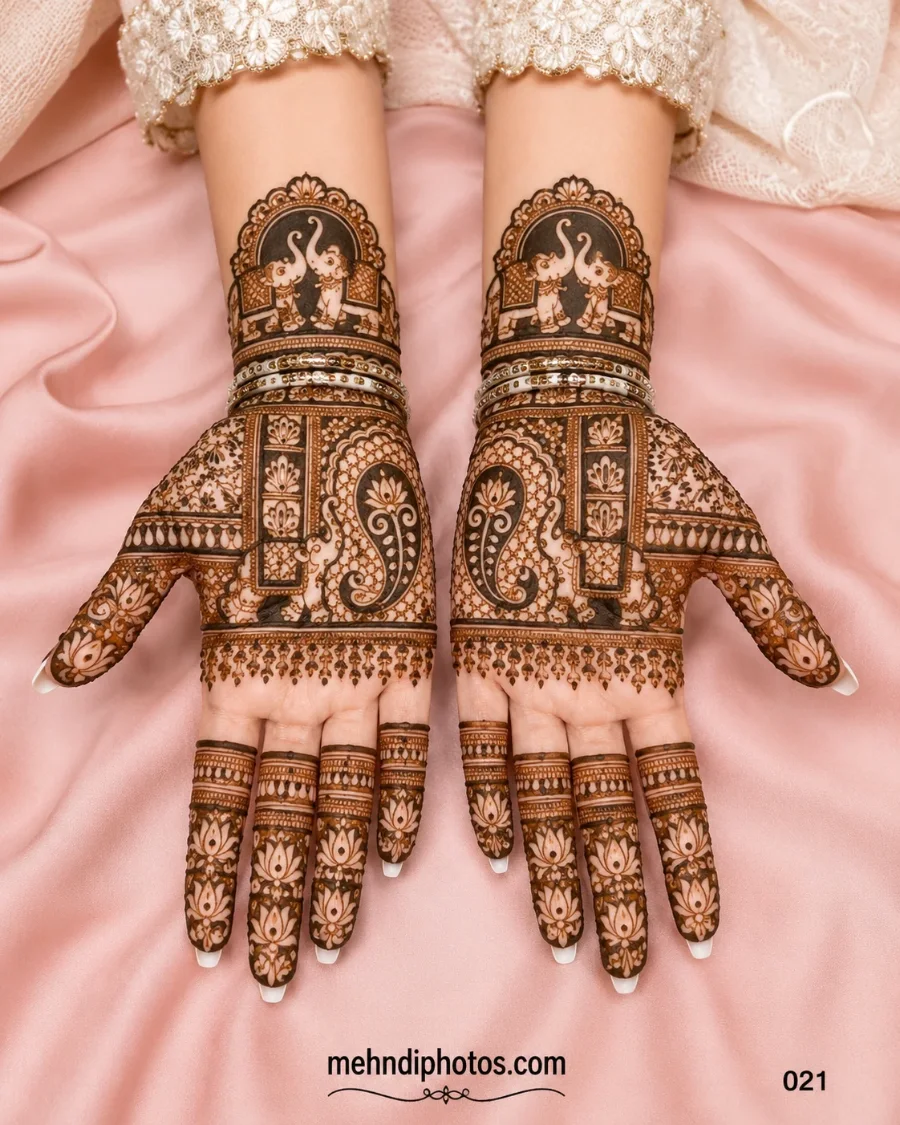
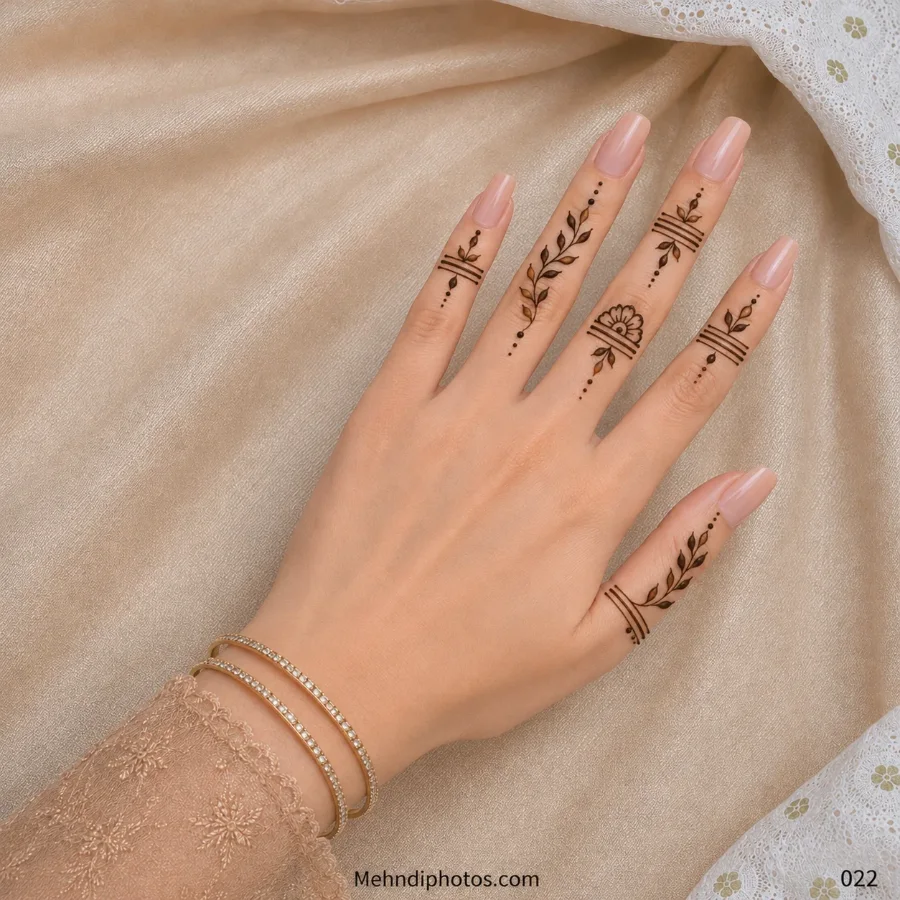
Save a small set of designs you genuinely like. Two or three clear references are more useful than a folder of fifty screenshots. Notice what you like in each image: the finger treatment, palm centre, wrist finish, amount of open skin, or overall coverage. If you want a lighter look, browse Simple Mehndi. For denser wedding references, compare Bridal Mehndi.
Keep the skin clean and simple
Wash the area normally and dry it well. Avoid applying a heavy layer of lotion or body oil immediately before the session because the artist needs a clean surface. There is no need to scrub aggressively. Comfortable, healthy skin is a better starting point than skin that has been over-prepared.
Wear clothes that will not fight the design
Loose sleeves that can stay above the elbow are practical for hand and forearm mehndi. For feet, choose clothing that gives the artist easy access without constantly shifting fabric. Think about what happens after the application too: wet henna and tight cuffs are a bad combination.
Eat, drink and use the washroom first
A detailed session can take time. Have a normal meal or snack beforehand, keep drinking water, and use the washroom before both hands become unavailable. For bridal sessions, arrange a straw, easy snacks and someone who can help with small tasks.
Discuss coverage before the cone opens
Show the artist where you want the design to stop. “Full hand” can mean different things to different people. Point to the wrist, mid-forearm or elbow and agree on the finish. Also mention rings, bangles or a watch you plan to wear so important details are not hidden.
Plan enough drying time
Do not schedule a rushed shower, drive or outfit change immediately after mehndi. The paste needs time to dry and remain undisturbed. If the design is for an important event, leave enough time for the stain to mature rather than expecting its final colour immediately after removal.
Keep the appointment comfortable
Choose a chair with back support, good light and a stable surface for the artist. Keep the room ventilated but avoid placing a strong fan directly on fresh paste. Put your phone where someone else can answer it if both hands are being worked on.
Final checklist
- Save two or three useful reference designs.
- Arrive with clean, dry skin.
- Wear practical sleeves and footwear.
- Eat and use the washroom beforehand.
- Agree on coverage and key motifs.
- Leave enough time for drying and aftercare.
The best preparation is simple: make the session easy for yourself and easy for the artist. Once the practical details are handled, you can focus on choosing a design you will actually enjoy wearing.