Mehndi Practice Routine for Beginners: 20 Minutes a Day
You do not need to practise for hours to improve cone control. This simple 20-minute routine builds lines, curves, leaves, spacing and small compositions step by step.
Beginners often practise by copying a complete hand design from the first line to the last. That can be fun, but it makes it difficult to see which skill is actually improving. A short routine works better when each few minutes has one job.
Minutes 1–3: test the cone
Draw slow straight lines, then faster lines. Add dots in three sizes. The goal is not decoration; it is learning how much pressure produces a predictable flow. If the line breaks or suddenly becomes thick, adjust your grip before moving on.
Minutes 4–7: curves and S-shapes
Most floral and paisley mehndi is built from curves. Fill a small practice area with C-shapes, S-shapes and spirals. Try to keep the distance between neighbouring curves consistent rather than chasing perfect geometry.
Minutes 8–11: leaves and petals
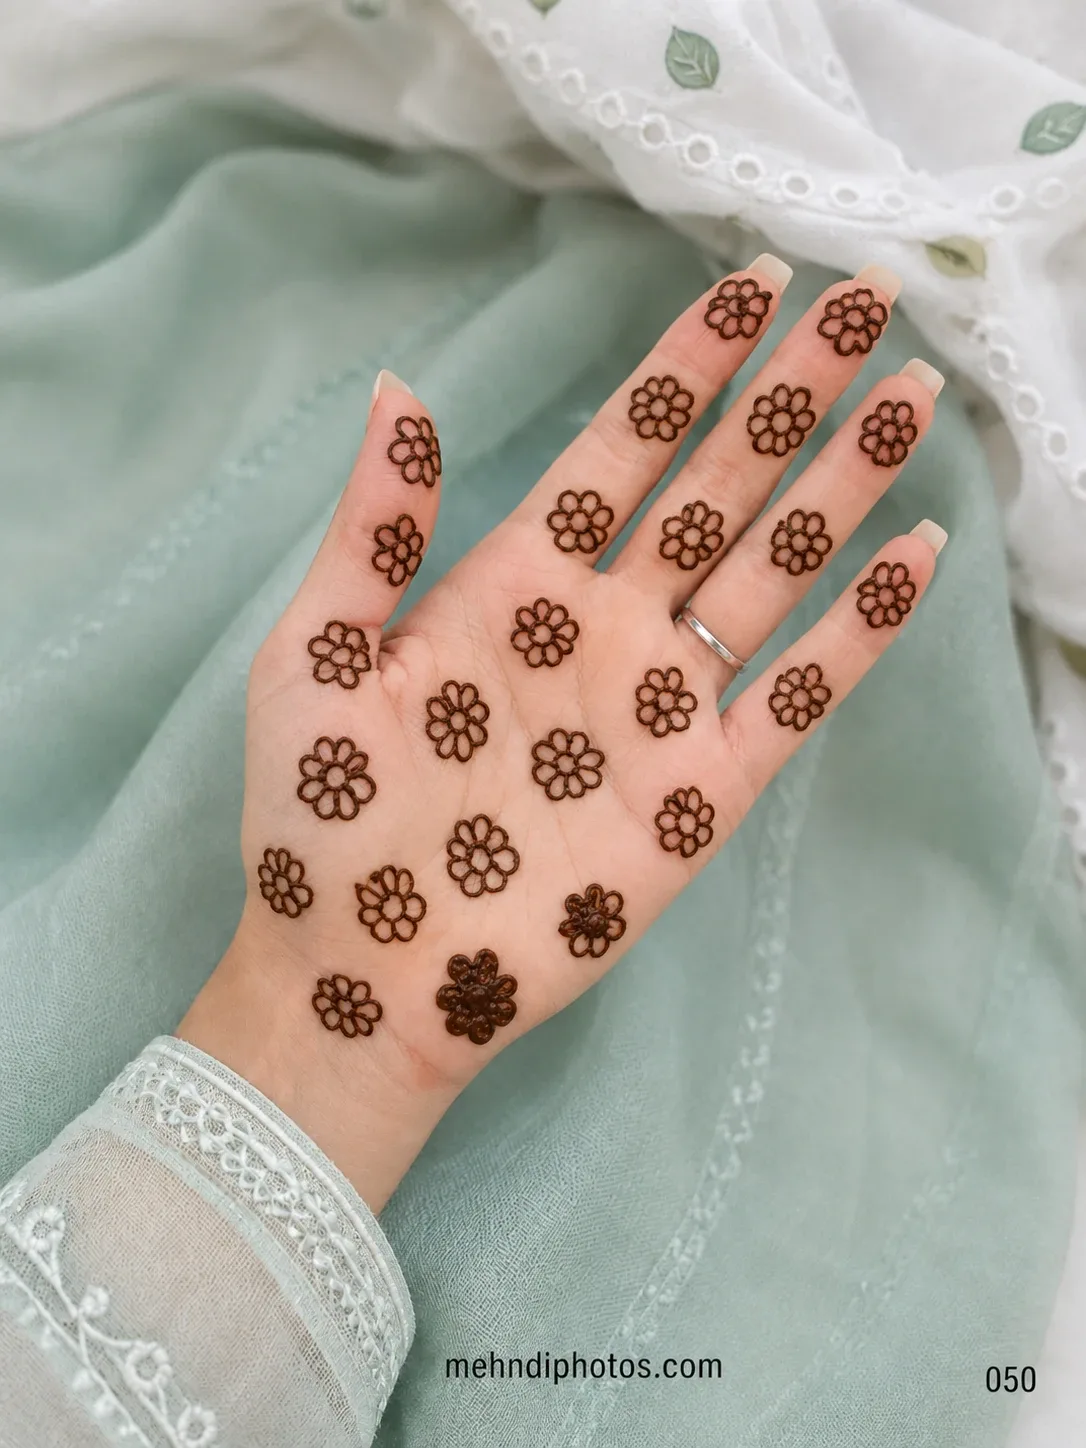
Draw one simple stem and repeat the same leaf on both sides. Then practise five- or six-petal flowers at two different sizes. Larger motifs are useful for beginners because they expose uneven pressure without demanding microscopic control.
Minutes 12–15: borders and spacing
Make a narrow band using two parallel lines. Fill it with checks, scallops or alternating leaves. Leave another band completely open beside it. This teaches an important lesson: spacing is a skill, not leftover skin.
Minutes 16–20: one tiny composition
Combine a flower, two leaves, a curve and a border into a small design. Do not add extra filler just because there is room. Stop when the composition looks balanced. For achievable references, browse Simple Mehndi and Finger Mehndi.
Practise on the right surface
Paper is convenient for line drills, although it does not behave exactly like skin. A reusable practice sheet or smooth practice board can help with longer curves. When you move to skin, remember that hands are curved and flexible, so slow down around joints and fingers.
Track one thing each week
Instead of asking “Am I good yet?”, choose one measurable target: smoother curves, more even dots, cleaner leaf size or steadier line thickness. Photograph a small practice section once a week. Improvement is easier to notice when you compare the same exercise.
Do not practise mistakes at full speed
If a motif keeps going wrong, make it larger and slower. Understand the movement first, then reduce the size. Speed usually arrives after control; forcing speed early simply makes inconsistent movement more automatic.
Final thought
Twenty focused minutes can teach more than an hour of random filling. Build control from simple strokes, then combine those strokes into designs. The complicated patterns you admire are usually made from the same basic movements repeated with confidence.
How to measure improvement each week
Keep one sheet from each practice session and date it. Compare line consistency, dot spacing, petal size and how often the cone flow breaks rather than comparing only the final design. Once simple motifs look consistent, try combining a flower, three leaves and a short vine into one composition. Our Simple Mehndi gallery offers references you can study, while the cone-control guide explains grip and pressure basics.