Simple Mehndi Designs: An Easy Guide for Beginners and Busy Days
Simple mehndi works best when the design is planned around time, hand control and clean spacing. This practical guide shows beginners how to choose patterns that are genuinely easy to apply, build a design from basic strokes, avoid common mistakes and pick the right level of coverage for everyday wear, festivals and small functions.
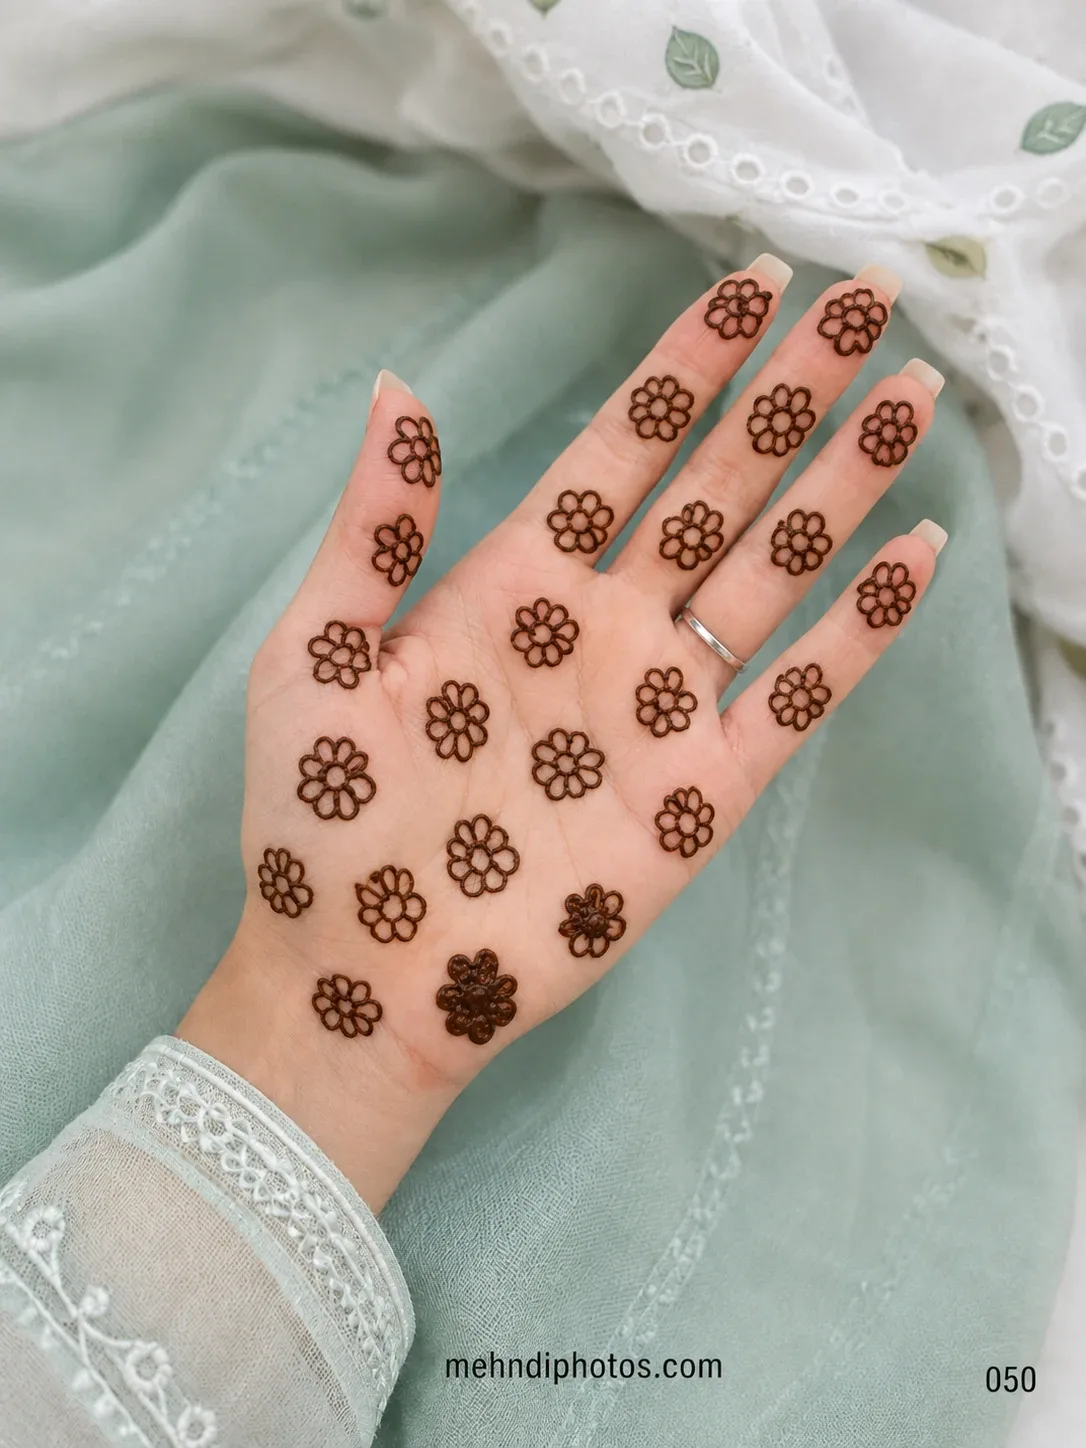
A simple mehndi design can be more difficult than it looks. A photograph may show only one flower and a few leaves, but if those lines depend on perfect symmetry or very fine spacing, a beginner can struggle with it. On the other hand, a slightly fuller design built from forgiving shapes can be much easier to apply and can look cleaner on the hand.
That is the first thing worth understanding before choosing an easy mehndi design: simple-looking and easy-to-draw are not always the same thing.
This guide is for anyone who wants mehndi without turning it into a three-hour project. It explains how to judge difficulty before you start, which motifs are easiest to control, how to build a complete hand from a few basic elements, and how to choose a design that still looks intentional when you only have ten, twenty or thirty minutes.
What actually makes a mehndi design easy?
An easy design usually has four qualities: the main shapes are large enough to control, the pattern does not depend on exact mirror symmetry, there is enough empty skin between elements, and a small mistake can be absorbed into the design instead of ruining the whole pattern.
That is why a loose leafy vine is usually easier than a perfectly centred geometric mandala. A vine can bend slightly differently and still look natural. A geometric pattern exposes every uneven line.
When judging a reference photo, do not count only the number of motifs. Look at how precise those motifs need to be.
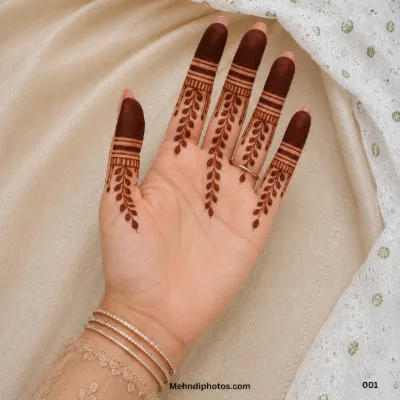
Good beginner choices
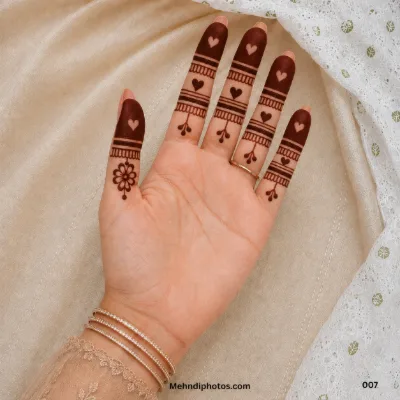
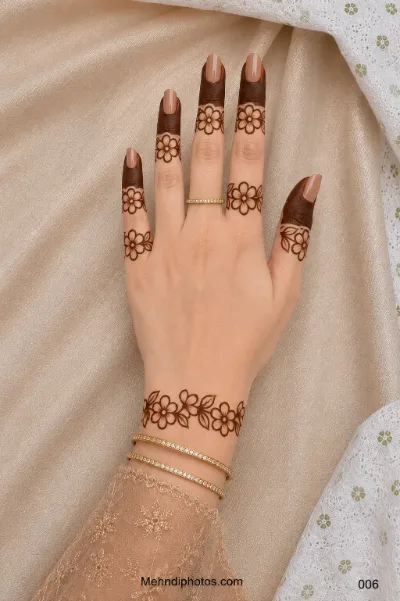
- Open flowers with five or six petals
- Simple leaves made with one outline and one fill stroke
- Curved vines
- Dots and small clusters
- Loose paisleys
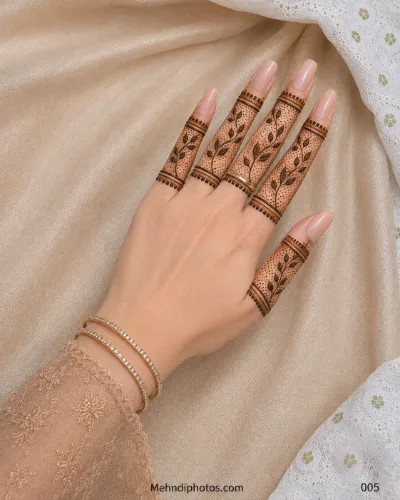
- Short finger bands
- Scattered flowers
- A basic gol tikki with an uncomplicated border
Patterns that often look simple but need more control
- Perfectly repeated jaali grids
- Very small lace work
- Identical motifs on all five fingers
- Tight circles that must stay centred
- Long straight parallel lines
- Highly symmetrical wrist cuffs
The five building blocks you can reuse again and again
You do not need to memorise fifty designs. Most simple mehndi can be built from a small visual vocabulary.
1. The curve
A clean C-curve or S-curve gives movement to a design. It can become a stem, the outer edge of a paisley, a bracelet line or the base of a finger trail.
2. The leaf
A leaf is one of the most useful filler shapes because it works alone, in pairs or along a stem. Beginners should start with slightly larger leaves rather than tiny pointed ones. Larger leaves hide small inconsistencies better.
3. The flower
A five-petal flower does not need to be mathematically perfect. In fact, slightly varied petals often look more natural. Start with a centre dot or small circle and build the petals around it.
4. The paisley
A paisley can look elaborate even when the construction is basic: one curved outline, a smaller inner curve, then dots or leaves in the remaining space. Use one or two large paisleys instead of many tiny ones.
5. Dots and borders
Dots are not just decoration. They can soften an empty corner, connect two motifs visually, disguise a slightly awkward join and make a simple design feel finished. Borders do the same job at the wrist or around a mandala.
If you can draw these five elements comfortably, you can create dozens of variations without copying a full design line by line.
A better way to choose a reference photo
Before saving a design, zoom in and ask three questions.
First: can I identify where the artist started and how the design grows? If the pattern has a clear path—from wrist to finger, from palm centre outward, or diagonally across the hand—it is easier to reproduce.
Second: are there large breathing spaces? Negative space gives you room to correct proportions as you work. Dense designs leave very little margin for error.
Third: does the design still look complete if one small section is removed? This is useful when you run short on time. A modular design can stop at the palm or wrist and still look deliberate.
Browse the easy mehndi collection with this approach instead of choosing only by what looks prettiest at first glance.
Three practical time levels
If you are applying mehndi for yourself or doing several family members before a function, time matters just as much as style.
A 5–10 minute design
Keep the pattern to one focal idea. Good choices are a small central flower, a single diagonal vine, one wrist band with two decorated fingers, or a basic gol tikki.
The mistake people make at this level is trying to add a little detail everywhere. That usually creates five unfinished areas instead of one complete design. Pick one area of the hand and finish it properly.
A 15–20 minute design
You now have enough time for a focal motif plus a supporting element. For example: a flower on the palm, a vine toward the index finger, and a small wrist finish. Another reliable structure is a bracelet band connected to one finger by a leafy trail.
This is a useful level for Eid visits, Teej, Diwali, small family functions, college events and last-minute mehndi nights.
A 25–35 minute design
At this level you can cover more of the palm while keeping the pattern beginner-friendly. Use two or three large motifs rather than replacing them with dozens of miniature details. A larger paisley, flower cluster and finger bands can fill the hand without becoming difficult.
If both hands need to be done, finish the stronger hand first. By the second hand your cone pressure is usually more consistent and you already know which parts of the design took the most time.
Simple front hand designs
The palm gives you a broad surface and a natural centre point, so it is a good place for first attempts. But do not feel that every design must fill the centre.
A diagonal design is often easier because it does not need perfect centring. Start near the wrist, move across the palm and finish on the index or middle finger. A flower-and-leaf trail works especially well in this layout.
Scattered motifs are another forgiving choice. Place two or three small flowers across the palm, add light finger details, then stop. The empty space is part of the design.
For more structured looks, a simple gol tikki can work well. Keep the first version basic: centre circle, one petal ring, one dot ring. Once your circle control improves, add more layers.
Compare these structures with the front hand gallery and the gol tikki collection.
Simple back hand designs
The back of the hand is excellent for minimal work because jewellery already adds visual interest. A design does not need to cover much skin to feel complete.
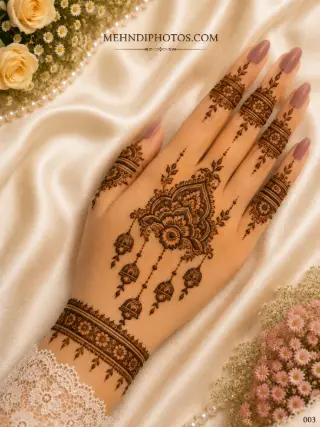
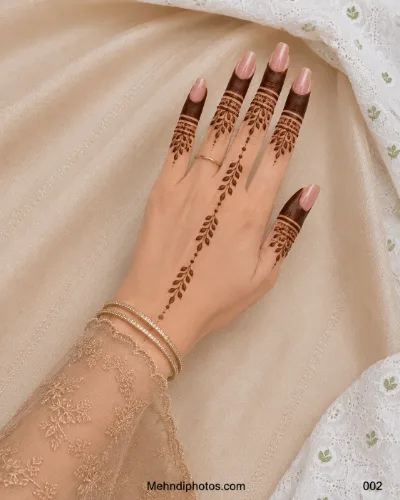
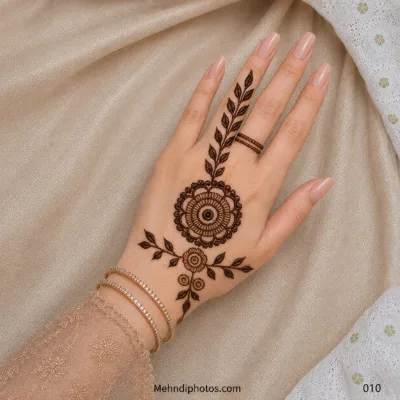
One easy structure is a bracelet at the wrist connected by a thin vine to one finger. Another is a single flower or round motif below the knuckles with small leaves extending toward the wrist.
If you wear rings, leave some open space around them. Crowding every knuckle with mehndi can make both the jewellery and the design harder to see.
For self-application, back hand work can be awkward because of wrist position. Keep the reference simpler than you would choose for someone else, and avoid long lines that require one uninterrupted movement. The back hand gallery is useful for comparing how much empty space different patterns leave.
Easy finger mehndi without making every finger identical
Trying to copy the same pattern on all five fingers is a common beginner trap. Tiny differences become obvious because the fingers sit next to one another.
Instead, use a coordinated set: one finger with a leafy trail, two with simple bands, one with dots and one mostly open. The patterns belong together without needing to match exactly.
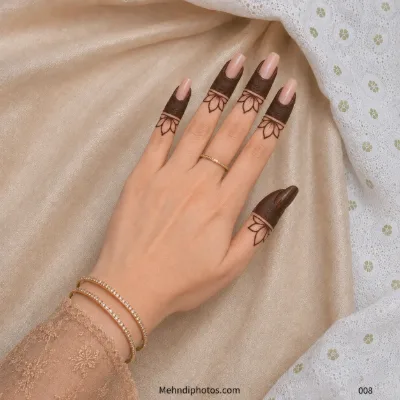
Another option is to decorate only the index and little finger and keep the middle fingers light. This can look more modern and it reduces the amount of detail you need to control.
For references that focus specifically on small areas, see the finger mehndi gallery.
How to make a simple design look finished
The difference between “minimal” and “unfinished” is usually the ending.
A clean wrist border gives the bottom of the design a visual stop. A small dot cluster can finish a vine instead of letting it disappear randomly. Finger motifs should either end at a consistent height or vary intentionally.
Also pay attention to scale. If the main flower is large, supporting leaves should not suddenly become tiny and fussy. Keeping a similar visual weight across the design makes even basic motifs feel considered.
One useful rule is to step back before filling an empty area. If the design already feels balanced from arm's length, leave the skin open. Empty space is not a mistake that needs to be filled.
Cone control matters more than motif count
Beginners often concentrate on learning complicated patterns when the bigger improvement comes from controlling the cone.
Hold the cone like a pen but do not squeeze from the tip. Keep gentle pressure from the upper part of the cone and guide the paste with your fingers. Try to let the henna line fall onto the skin rather than scraping the tip along it.
Before starting on a hand, make a few lines on paper or another practice surface: slow curves, fast curves, dots, leaves and one flower. You are checking whether the paste flows evenly, not trying to create artwork.
If the line keeps breaking, forcing more pressure usually makes the next section too thick. Check the cone opening first. A tiny blockage or dried paste at the tip can make a good design look inconsistent.
A simple practice routine that actually transfers to the hand
Random doodling helps less than repeating a small sequence.
For one practice session, draw ten C-curves in the same direction, ten in the opposite direction, ten pairs of leaves, five flowers and five paisleys. Then connect those shapes into three short vines.
The goal is not identical shapes. The goal is predictable hand movement.
Once that feels comfortable, practise one complete mini composition that fits inside an imaginary palm-sized rectangle. This teaches spacing, which is usually harder than drawing the individual motifs.
Common mistakes in simple mehndi
Making everything too small
Tiny work feels safer because each stroke is short, but it actually demands better control. Beginners usually get cleaner results by increasing motif size and reducing the number of motifs.
Starting with fingers
Finger details are narrow and repetitive. If you start there and your spacing is slightly off, you may spend the rest of the design trying to match it. Start with the main palm or wrist motif, then let the fingers support it.
Copying every line from a reference
A reference is a guide, not a technical drawing. If your palm is shorter, your flower may need to be smaller or your vine may need one fewer turn. Adapting the design to the hand usually looks better than forcing exact proportions.
Filling every gap
A clean empty patch can make the neighbouring motif stronger. Filling every space with dots, checks or leaves can turn an easy design into an unnecessarily difficult one.
Changing line thickness accidentally
Some variation is attractive when intentional. Random thick and thin sections usually come from inconsistent cone pressure. Practise the flow before adding more complex motifs.
Trying to fix a mistake with more detail
If one line bends slightly, adding five extra lines around it rarely improves the situation. Turn the bend into a leaf, a dot cluster or a thicker outline and continue. A small correction is less visible than an overworked patch.
Choosing simple mehndi for different occasions
Everyday or college
Keep the palm mostly open. A wrist motif, a side flower or one decorated finger is enough and remains practical for daily routines.
Eid and Chand Raat
Floral trails and light Arabic-inspired vines are fast when several family members are waiting for their turn. Choose open patterns rather than dense filling if time is limited. For bolder flowing references, browse Arabic mehndi.
Teej and Karwa Chauth
A round palm motif, leafy borders or a slightly fuller front-hand design can feel festive without requiring bridal-level detail. If you want a traditional look, add small dots or a simple border instead of increasing motif complexity.
Engagement or small wedding functions
Use one polished focal element and leave room for jewellery. A neat wrist band, flower trail and ring-finger accent can photograph better than a rushed full-hand design.
Wedding guest
You can choose medium coverage, but keep the structure simple if you are applying it yourself. Two large motifs with clean spacing are usually more elegant than a dense pattern with uneven lines.
How to choose a design for your own skill level
Do not label yourself only as beginner or advanced. Break the design into skills.
You may be comfortable with flowers but not straight lines. You may draw paisleys easily but struggle with symmetry. Choose references that rely on your strongest motions and contain only one thing you are actively trying to improve.
This makes practice enjoyable and gives you a finished hand you actually like, instead of turning every application into an exam.
If a design contains three or four techniques you have never tried before, save it for later. There will always be another function.
Simple does not have to mean generic
Personal style can come from small choices. Use rounded leaves instead of sharp ones. Keep fingertips open instead of filled. Use one oversized flower rather than several small ones. Let a vine travel along the side of the palm rather than through the centre.
You can also repeat one small motif from your outfit—such as a lotus shape, a scalloped border or a geometric detail—without recreating the entire embroidery in mehndi.
The aim is not to produce the most complicated hand in the room. It is to create a design whose spacing, line quality and placement look deliberate.
A final checklist before you start
- Choose a reference with a clear path through the hand.
- Reduce any detail that looks smaller than you can comfortably control.
- Decide where the design ends before you begin.
- Test the cone flow.
- Draw the largest motif first.
- Add connecting vines and leaves second.
- Finish fingers after the main composition is balanced.
- Use dots and borders only where they solve a visual problem.
- Stop when the design looks complete.
Simple mehndi becomes much easier once you stop judging it by how little ink is on the hand and start judging it by how forgiving the structure is. A clean flower, a confident vine and well-placed empty space can look more polished than an hour of cramped detail.
Browse the easy mehndi collection when you want practical references, then save one design that matches both your occasion and your current hand control. The best beginner design is not the one with the fewest lines. It is the one you can finish calmly and cleanly.